Running Windows applications on a Mac used to be challenging, but today it’s surprisingly straightforward. Whether you’re playing PC games, running productivity software, or accessing Windows tools without Mac versions, several options are available.
Here’s a comprehensive guide to five methods for running Windows software on a Mac, showcasing how AI technology that is making online gaming amazing is also enhancing usability in other areas.
1. Run Windows in a Virtual Machine
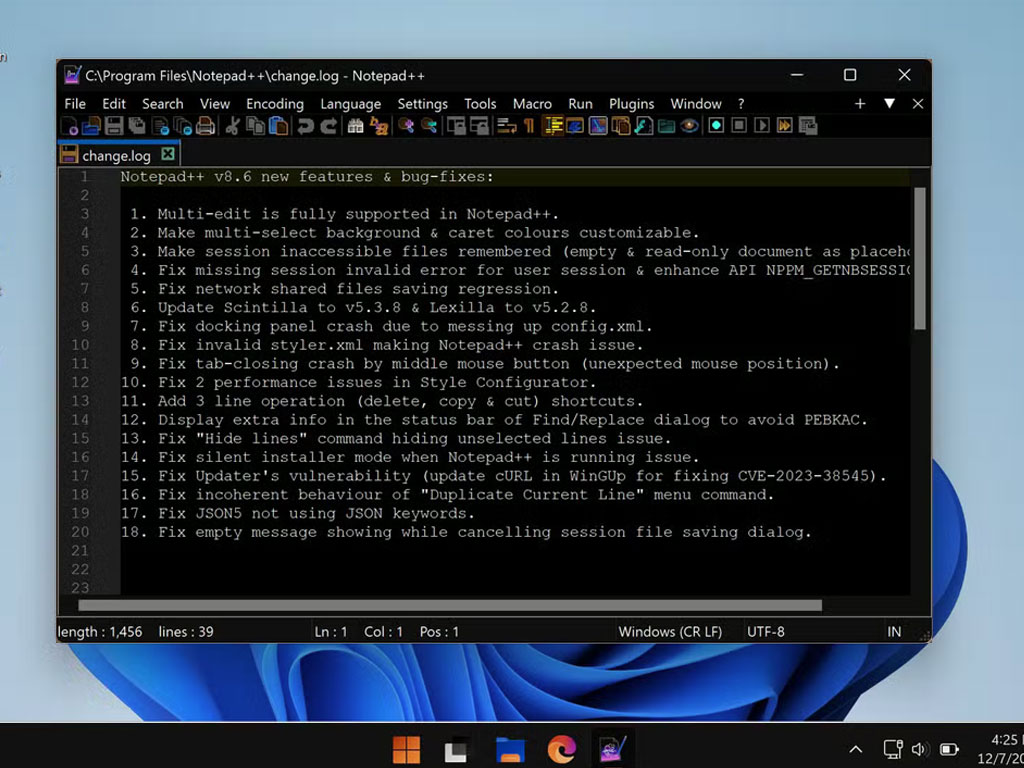
One of the easiest ways to run Windows apps on a Mac is by using a virtual machine (VM). A VM lets you run Windows on top of macOS without needing to replace the operating system on your Mac. Essentially, the virtual machine virtualizes the hardware required to run Windows, allowing it to function as though it’s installed natively. This solution offers excellent compatibility, particularly with the latest version of Windows 11.
Virtualization on Apple Silicon Macs
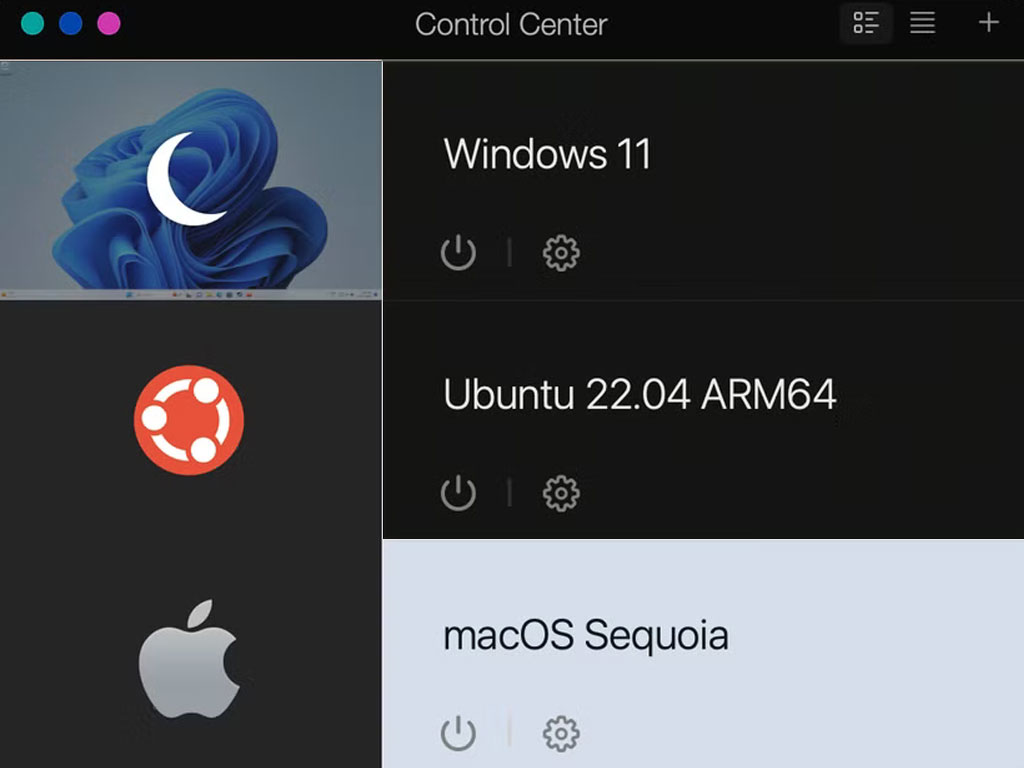
If you’re using a Mac with an Apple Silicon chip (such as M1, M2, or M3), you can install Windows 11 on ARM. Windows 11 ARM is optimized for Apple Silicon and provides near-native performance. This version of Windows allows compatibility with both ARM-native apps and traditional 64-bit x86 applications. The performance is impressive, especially when using modern Apple hardware, and you can run almost any app without a significant slowdown.
Virtualization on Intel Macs
For Intel-based Macs, you can run the traditional x86 version of Windows in a virtual machine. The setup process is similar, and you can still achieve great performance. Virtual machines can also run other operating systems like Linux or additional macOS installations, giving you even more flexibility.
Popular Virtual Machine Software
- Parallels Desktop: This is one of the best virtualization solutions for Mac. It not only makes it easy to install and run Windows 11 but also supports 3D graphics acceleration for gaming, a feature that’s unavailable with most other VM software. Parallels integrates smoothly with macOS, allowing you to use Windows apps as if they were native Mac apps.
- VMware Fusion: VMware Fusion is another popular choice. It’s well-regarded for its stability and performance, though the user experience isn’t as polished as Parallels.
- VirtualBox: A free and open-source option, VirtualBox is great for those who need a cost-effective solution but don’t mind a more complex setup.
- UTM: This is another free and open-source tool for Apple Silicon Macs. While it lacks some of the advanced features of Parallels, it’s a good choice for general use.
2. Use Wine to Run Windows Apps
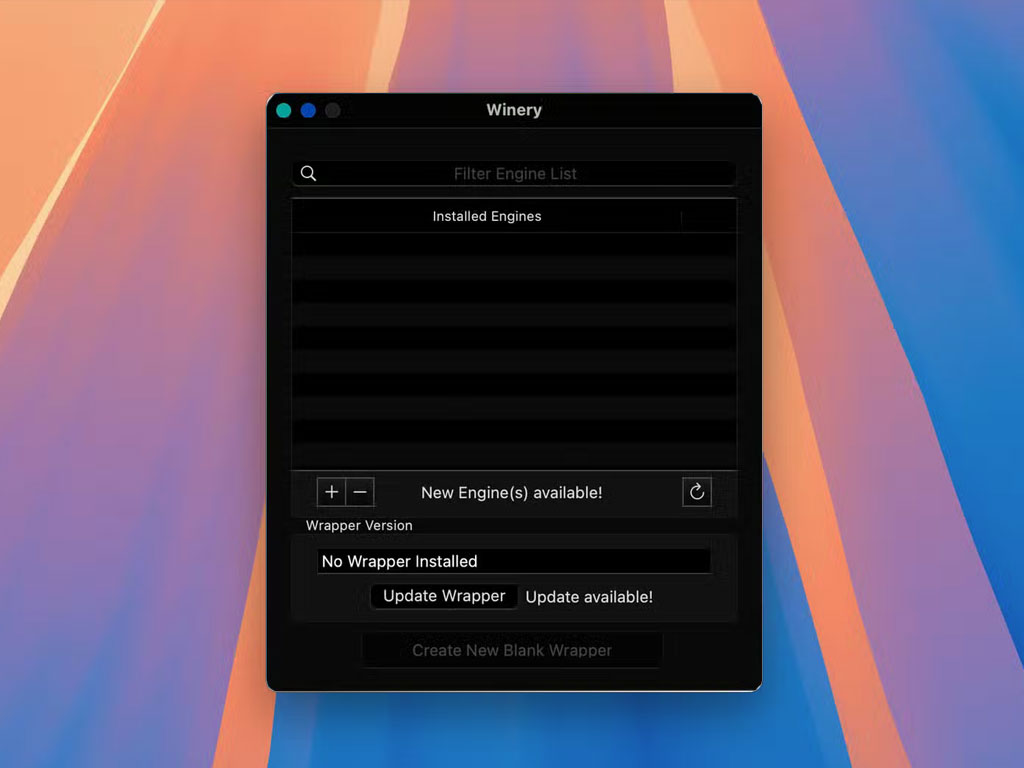
If you prefer not to run Windows at all, Wine could be the solution you’re looking for. Wine is a compatibility layer that allows you to run Windows applications directly on macOS by translating Windows API calls into something that macOS can understand. It’s a great tool if you want to run specific Windows apps without using a virtual machine or dual-booting.
While Wine works well for many applications, it’s not perfect. Some apps may experience odd behavior or fail to work altogether. Still, for lightweight Windows software or games that don’t demand high performance, Wine can be a great option.
Kegworks: A Community-Maintained Tool for Wine
While Wine’s Mac packages are no longer officially maintained, the Kegworks tool provides a solution. Kegworks uses Wine to create “wrappers” for Windows apps, making them easier to install and run on macOS. You can install Kegworks via Homebrew, a popular package manager for macOS.
To install Kegworks, follow these steps:
- Open the Terminal and install Homebrew (if you haven’t already) using this command:
/bin/bash -c
“$(curl -fsSL https://raw.githubusercontent.com/Homebrew/install/HEAD/install.sh)”
- Install Kegworks using Homebrew:
brew upgrade
brew uninstall –force –zap wineskin
brew install –cask –no-quarantine gcenx/wine/kegworks
Once installed, Kegworks allows you to run Windows apps directly on your Mac without the need for a full Windows installation.
3. Use Cross Over Mac to Run Windows Apps

If Wine feels too complicated, you can try CrossOver Mac, which is a commercial solution based on Wine but with added support and a more user-friendly interface. CrossOver is a paid application (with a free trial available) that simplifies the process of running Windows software on a Mac.
CrossOver supports both Intel and Apple Silicon Macs, making it a great solution for a wide variety of users. It’s especially popular among gamers who want to run Windows games on their Macs. CrossOver even provides installation profiles for many popular apps, which simplifies setup. If no profile exists, CrossOver can guide you through creating your own.
CrossOver costs $74, which is cheaper than purchasing a full Windows license or investing in premium virtualization tools like Parallels. Plus, with a single license, you can use CrossOver on macOS, Linux, and even ChromeOS.
4. Use Boot Camp to Install Windows on Intel Macs
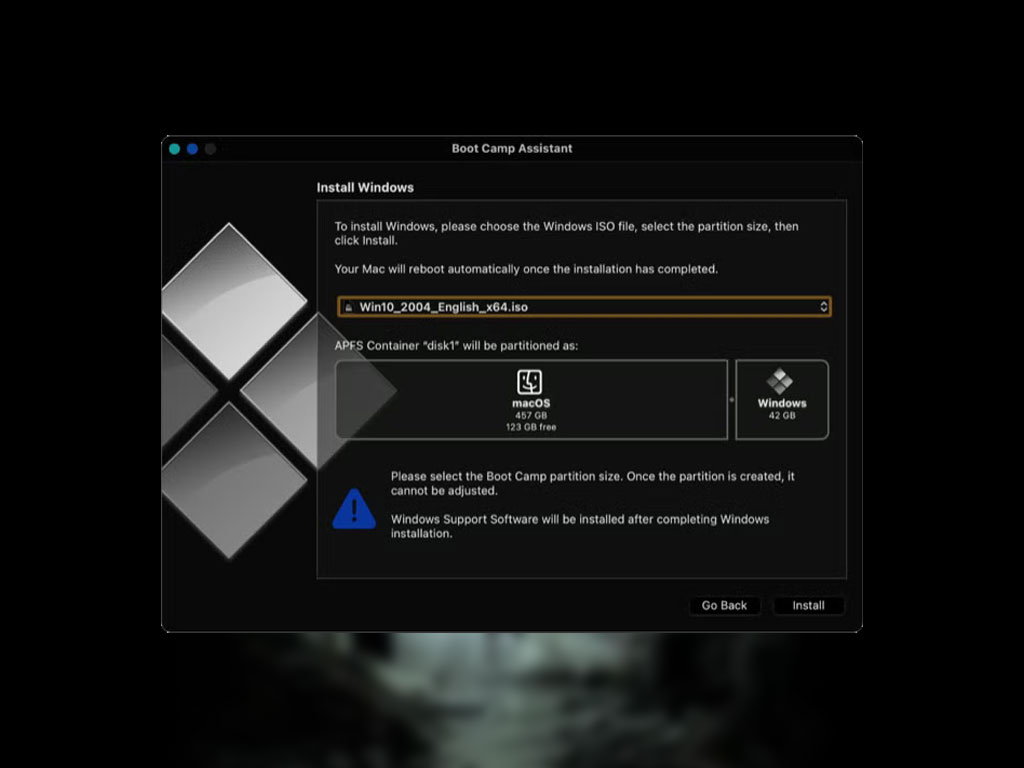
For Intel Mac users, Boot Camp is another option. Boot Camp is Apple’s native dual-boot tool, allowing you to install Windows natively on your Mac, providing the best performance possible since you’re running Windows directly on your Mac’s hardware. This option is not available for Apple Silicon Macs, as they do not support Boot Camp.
Installing Windows with Boot Camp
To install Windows on an Intel Mac:
- Open the Boot Camp Assistant, located in the Applications > Utilities folder.
- Follow the on-screen instructions to partition your drive and install Windows.
- After installation, you’ll need to boot into Windows whenever you want to use it by restarting your Mac and selecting the Windows partition.
While Boot Camp offers the best performance since Windows is running natively, it does have some drawbacks. First, you have to reboot your Mac each time you want to switch between macOS and Windows. Additionally, you’ll need to partition your hard drive, which may limit the amount of space available for both operating systems.
5. Access Windows Remotely with Remote Desktop Tools
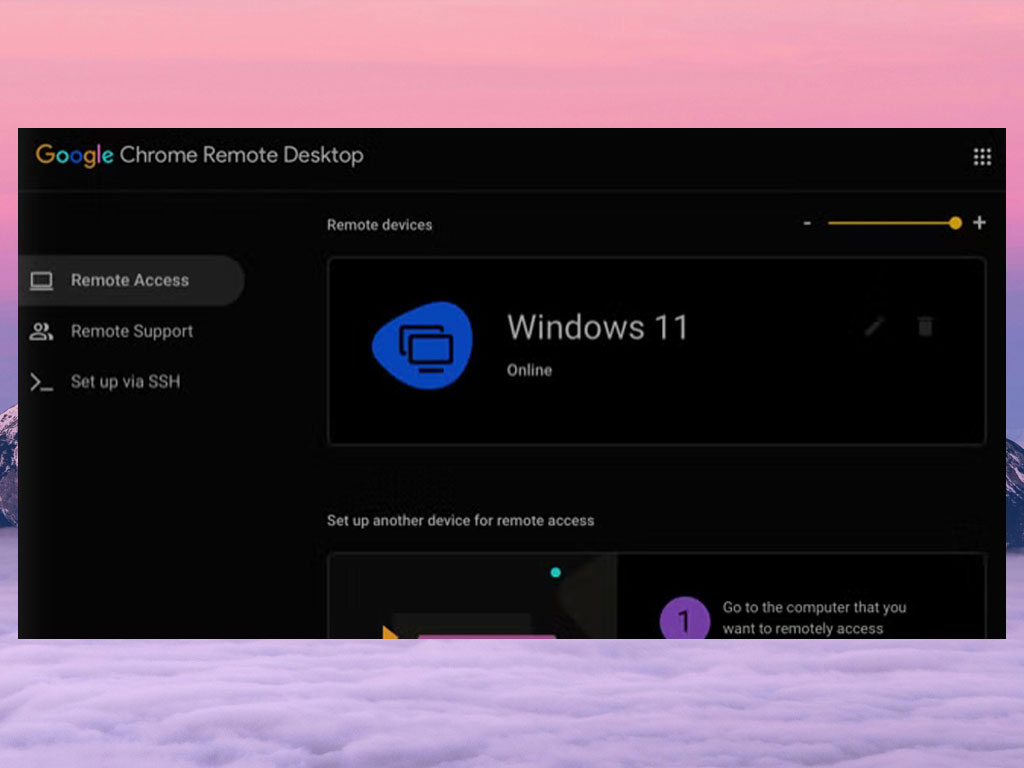
If you already have access to a Windows PC and just need to interact with it on your Mac, remote desktop software is an excellent solution. Using a remote desktop connection, you can control your Windows PC from your Mac over the internet or via a local network.
While remote desktop tools are best for accessing files or using basic applications, they might not be ideal for gaming or high-performance tasks due to latency issues. A wired connection will provide better stability compared to Wi-Fi.
Popular Remote Desktop Tools:
- Microsoft Remote Desktop: Available for free, this app allows you to connect to a Windows PC running Windows 10 or 11 from your Mac. It’s one of the most reliable remote desktop tools for Windows-to-Mac connections.
- Chrome Remote Desktop: This free tool from Google lets you access your Windows PC through your browser. It’s simple to set up and uses your Google account for authentication.
- DWService: A free remote access tool that works via a web browser. It’s easy to set up and provides access to a Windows machine remotely.
- AnyDesk: Another remote desktop option that offers low-latency access. It’s free for personal use and great for smaller tasks.
6. Look for Native Mac Alternatives
If running Windows software on your Mac feels like too much trouble, it might be worth searching for native Mac alternatives. Many popular Windows programs have Mac versions or alternatives that are just as good. For instance, DaVinci Resolve is a powerful video editing tool that works natively on macOS and serves as an alternative to Adobe Premiere.
Websites like AlternativeTo can help you find Mac alternatives to the Windows software you rely on. You can also ask on forums such as the Apple Support Community or r/MacApps for recommendations.


Leave a Comment